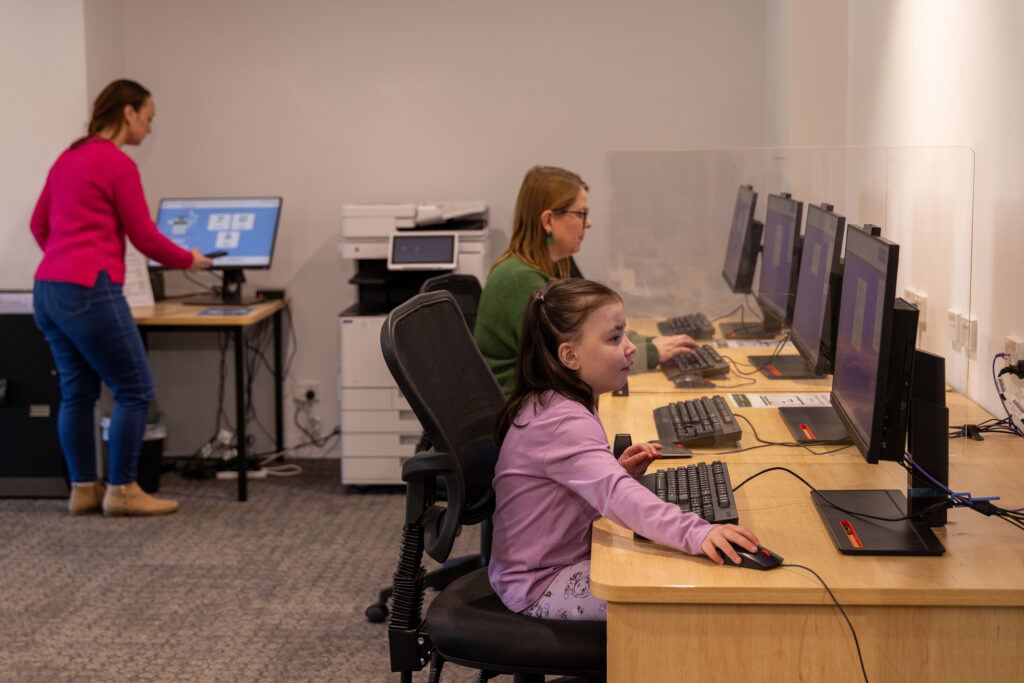
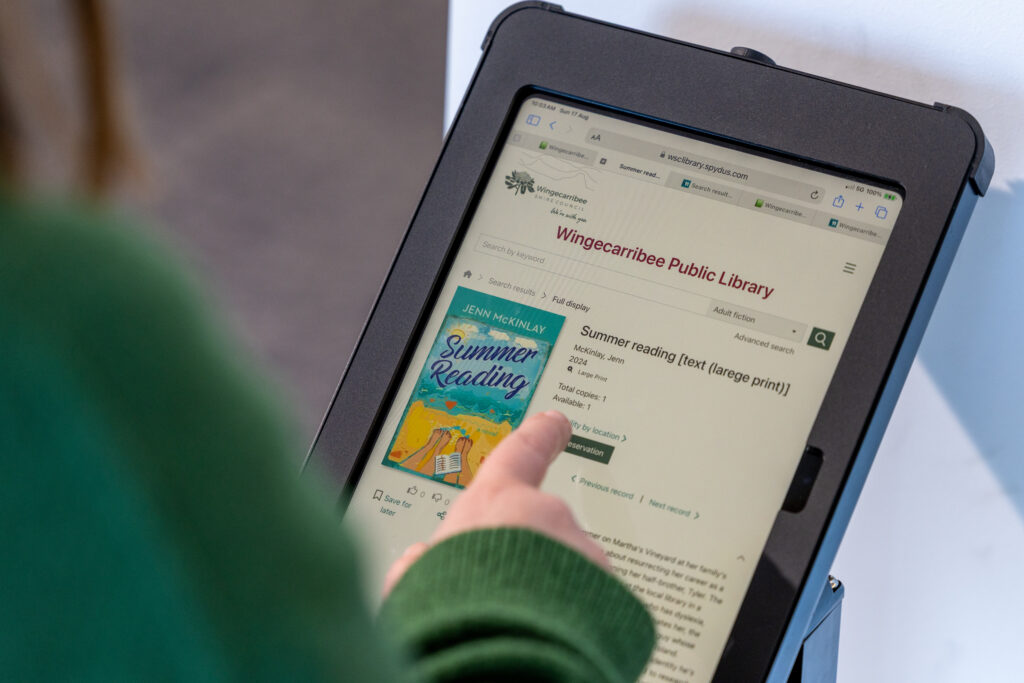
Printing, copy, and scan at any Wingecarribee Libraries branches. You can print from a library PC, USB, your own device, or send documents from home.
If you need help using the printer or scanner, just ask our friendly staff – we’re happy to assist! Please note that copying and printing are cashless.

What's available
- A4 and A3 Paper
- Black & White or Colour
- Free scanning to USB or to email (please bring your own USB)
- EFTPOS only
Print from your own device - library members
- To print from your own device, go to: https://wsc.monitorlibrary.au/WebPrint/ or press print now below.
- Login with your library card number and 4-digit PIN. Don’t have one? Contact us!
- Select the files you want to send to print and upload.
- Visit any library branch to release your printing. They will stay in the print queue for 24 hours or until released.
Uploaded the wrong document? Click on the document to highlight it and press delete, then yes.
Changing Print Settings
- Before uploading a document, click Change.
- Select your preferred settings from:
- Colour or Black & White
- One-Sided or Two-Sided
- Default Page Size (a3 or a4)
- Number of Copies
- Page Range to Print (leave if you want all pages printed)
- Click OK to save your settings.
- Click Select Files and upload your document with the settings you just saved.
How to email to print - non-library patrons
- Email the document to wsc@monitorlibrary.au after removing any unwanted attachments.
- Your document will be added to the print queue, and a Job ID will be emailed back to you. You will need this to release your printing.
- Visit any library branch within 24 hours to print your document. Print jobs remain in the queue for 24 hours or until they are printed.
Print from a USB
- To print from a USB, press Print from USB on the kiosk screen.
- Insert the USB on the front of the kiosk.
- Select the jobs you want to print, and press Next.
- Select your print settings, and then Next.
- Press Accept & Proceed.
- Swipe, tap or insert your debit or credit card.
- Your printing will be released from the printer.
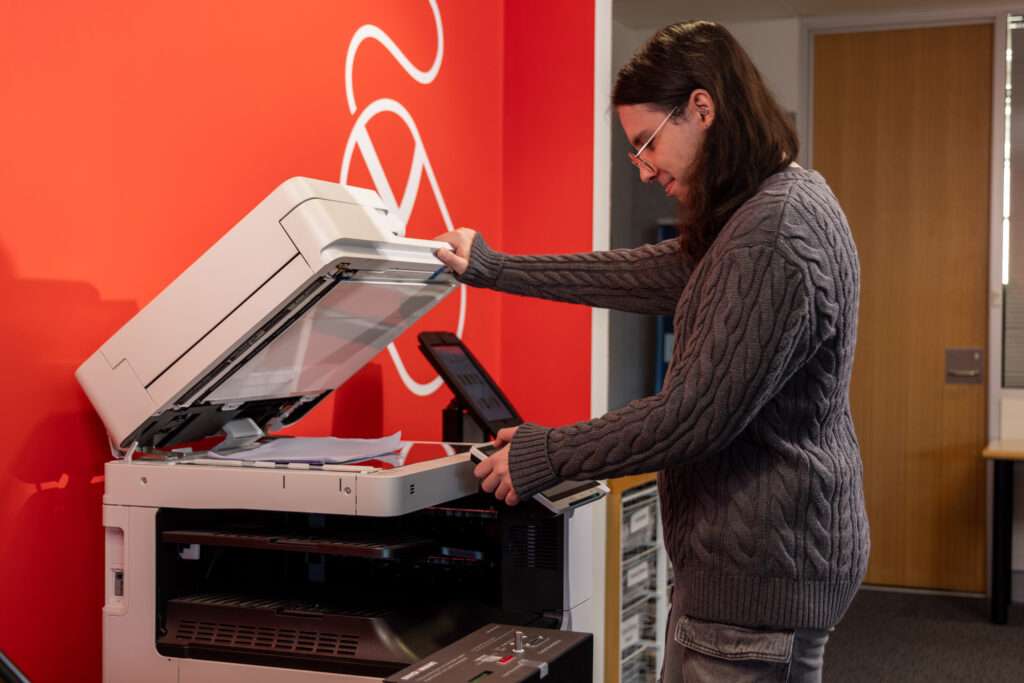
How to photocopy
- Press Photocopy on the kiosk screen.
- Select the number of pages you’d like to copy.
Remember, all transactions are final so just add the pages you will use
- Press Accept & Proceed.
- Check you’ve selected the correct attributes, then press Accept & Proceed.
- Swipe, Tap or Insert your debit/credit card.
- After the transaction is complete, select either a print receipt or an email receipt – you will need this to activate the copier.
- Scan the receipt on the copier. This receipt will be valid for 24 hours. If the funds haven’t been used after 24 hours they cannot be returned to you.
- Complete your copying.
- Once you have finished, press Log out.
- Press Log out again on the next screen. If you don’t log out, the copier will time out after 9 minutes or when the next patron uses the system
Scan to a USB or email
- Scanning to a USB or to an email address is free.
- To scan to a USB or email, press Scan on the kiosk screen.
- A screen with ‘Email address’ will open – press Next. You don’t need to enter anything.
- A receipt will print – scan this on the copier to activate the machine
- Press Copy/Scan
TO SCAN TO A USB
- Insert your USB or press Scan and send.
- Press Scan & Store and select where to store your scan.
- Press Scan, then Start Scanning.
- Press OK, and select your preferred settings.
- Press Start Storing.
- Once complete, eject the USB.
- Press Log out on the next two screens.
TO SCAN TO AN EMAIL
- Press New Destination and then Email.
- Enter the recipient’s email address, and press OK.
- Start scanning and press Start sending once scanning is complete.
- Press Close on the next screen to finish.
- Press Log out on the next two screens